Snapshots of EBS Volumes
Continuing with the volume created in the post Sharing EBS Volumes Among Instances, in this post I show how to create a snapshot, create a new volume from that snapshot, and mount the new volume in an instance. Remember that the volume created in the previous post contained 1 file called readme.
Creating the Snapshot
First we look at the available volumes:
$ ec2-describe-volumesVOLUME vol-4001e429 1 us-east-1c available 2008-09-25T09:51:48+0000Then we make the snapshot:
$ ec2-create-snapshot vol-4001e429SNAPSHOT snap-cb7493a2 vol-4001e429 pending 2008-09-26T11:48:30+0000It is pending. We check the status until it the snapshot creation has completed:
$ ec2-describe-snapshots snap-cb7493a2SNAPSHOT snap-cb7493a2 vol-4001e429 completed 2008-09-26T11:48:30+0000 100%Creating a Volume from the Snapshot
Now that the snapshot is ready, we can create a new volume from it. Note that we create it in a different
availability zone. The original volume resides in us-east-1c. The new volume will reside in us-east-1a.
$ ec2-create-volume –snapshot snap-cb7493a2 -z us-east-1aVOLUME vol-9f00e5f6 1 snap-cb7493a2 us-east-1a creating 2008-09-26T11:52:37+0000We wait until the volume is available:
$ ec2-describe-volumesVOLUME vol-9f00e5f6 1 snap-cb7493a2 us-east-1a available 2008-09-26T11:52:37+0000VOLUME vol-4001e429 1 us-east-1c available 2008-09-25T09:51:48+0000Now we have two available volumes.
Mounting the New Volume in an Instance
Let’s launch an image so that we can verify that the newly created volume can be mounted and has the same contents as the original volume. Note that the instance is launched in the availability zone where the newly created volume resides.
$ ec2-run-instances ami-0757b26e -k gettingstarted-keypair -z us-east-1aThe AMI we use here is a public Ubuntu Desktop image.
$ ec2-describe-instancesRESERVATION r-ff4d9e96 190912652296 defaultINSTANCE i-0fcf6c66 ami-0757b26e ec2-67-202-35-79.compute-1.amazonaws.com domU-12-31-38-00-6C-F6.compute-1.internal running gettingstarted-keypair 0 m1.small 2008-09-26T11:55:16+0000 us-east-1a aki-a71cf9ce ari-a51cf9ccThe instance is ready to be used. In another terminal we connect to the image and start the user-setup script.
The GUI interaction to set up the user is not shown here.
$ ssh -i id_rsa-gettingstarted-keypair root@ec2-67-202-35-79.compute-1.amazonaws.comThe authenticity of host ‘ec2-67-202-35-79.compute-1.amazonaws.com (67.202.35.79)’ can’t be established.RSA key fingerprint is ab:df:4e:78:b7:4d:59:3e:ae:6c:81:32:80:eb:bd:78.Are you sure you want to continue connecting (yes/no)? yesWarning: Permanently added ‘ec2-67-202-35-79.compute-1.amazonaws.com,67.202.35.79′ (RSA) to the list of known hosts.Linux domU-12-31-38-00-6C-F6 2.6.21.7-2.fc8xen #1 SMP Fri Feb 15 12:39:36 EST 2008 i686
The programs included with the Ubuntu system are free software;the exact distribution terms for each program are described in theindividual files in /usr/share/doc/*/copyright.
Ubuntu comes with ABSOLUTELY NO WARRANTY, to the extent permitted byapplicable law.
Amazon EC2 Ubuntu 7.10 gutsy base install AMI built byEric HammondFor more information: http://ec2gutsy-desktop.notlong.com
root@domU-12-31-38-00-6C-F6:~# user-setupShadow passwords are now on.Using `/usr/share/libgksu/debian/gconf-defaults.libgksu-sudo’ to provide `libgksu-gconf-defaults’.
Time to attach the volume (in the original terminal):
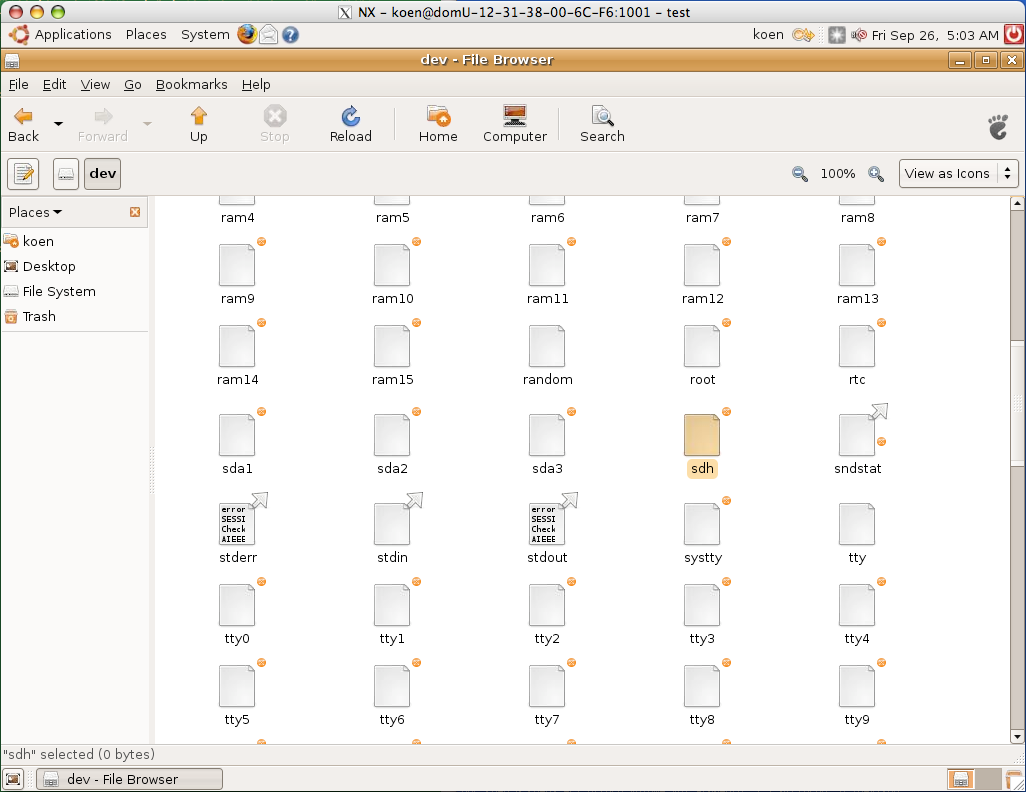
$ ec2-attach-volume vol-9f00e5f6 -i i-0fcf6c66 -d /dev/sdhATTACHMENT vol-9f00e5f6 i-0fcf6c66 /dev/sdh attaching 2008-09-26T12:01:15+0000$ ec2-describe-volumesVOLUME vol-9f00e5f6 1 snap-cb7493a2 us-east-1a in-use 2008-09-26T11:52:37+0000ATTACHMENT vol-9f00e5f6 i-0fcf6c66 /dev/sdh attached 2008-09-26T12:01:15+0000VOLUME vol-4001e429 1 us-east-1c available 2008-09-25T09:51:48+0000Let’s see whether it is available. Connect to the desktop as described in Preparing for Amazon AWS Usage.

In the terminal connected to the instance, we can mount the volume now:
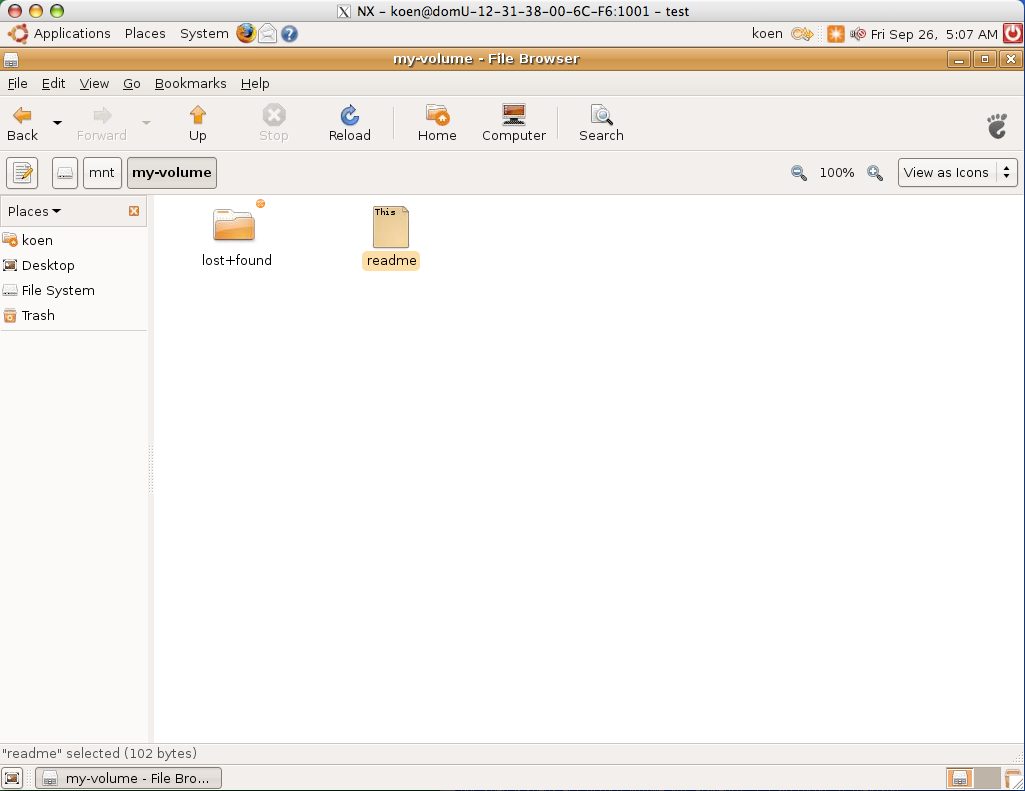
root@domU-12-31-38-00-6C-F6:~# mkdir /mnt/my-volumeroot@domU-12-31-38-00-6C-F6:~# mount /dev/sdh /mnt/my-volumeNow the volume should be mounted as my-volume and accessible. Let’s verify that by opening a file browser on that volume.

Indeed, the readme file that was on the original volume is also on the new volume created from the snapshot.