Preparing for Amazon AWS Usage
In order to experiment with Amazon Web Services, I requested an AWS account and I installed a bunch of software to get started. Here is an overview of what I did to get up and running.
Setting Up an AWS Account and the EC2 Tools
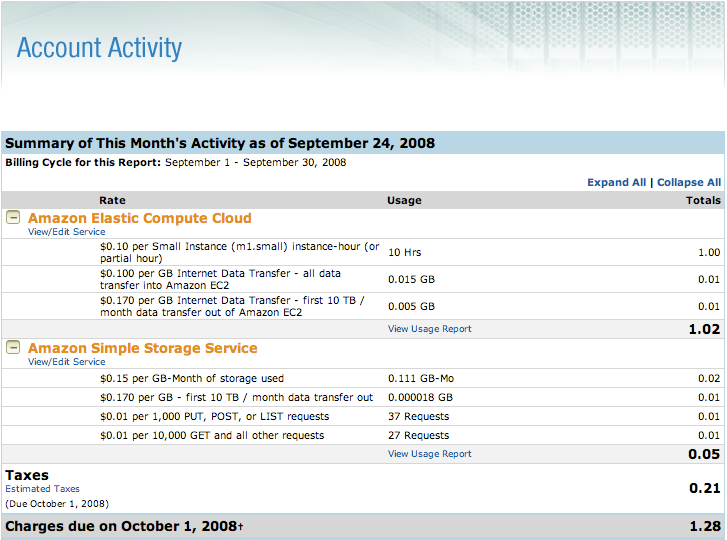
I filled in the registration form to request a new AWS account. Then I followed the excellent Getting Started Guide. It explains how to set up an account, how to install the EC2 tools, how to run an instance, and how to create your own image starting from an existing one. I immediately felt the power to EC2. The AWS Service Health Dashboard shows the status of AWS. It even shows the status history of about 1 month. The account activity (you need an AWS account to see this page) shows the costs involved with AWS usage.
Installing Useful FireFox Plug-Ins
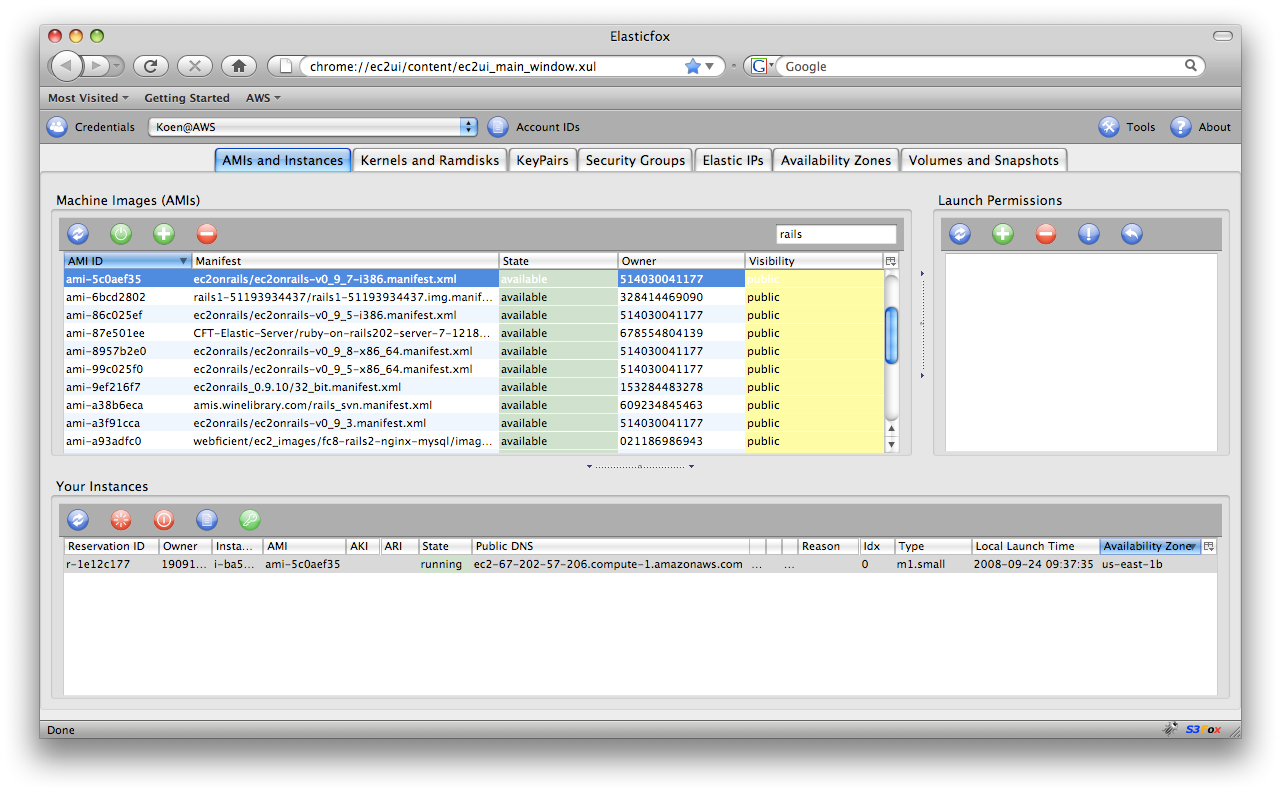
Although the EC2 tools provide everything you need to manage images, instances, and other EC2 resources,
it is easier to have a nice management GUI. Elasticfox is a FireFox plug-in for interacting with EC2,
the Elastic Compute Cloud. When installed, it is available from the Tools menu. The plug-in opens in a
web page and shows the available machine images (AMIs) and your instances. Running an instance is as simple
as selecting an AMI and pressing the Launch Instance(s) button. The list of public images is long.
Elasticfox allows filtering the list. The running instances show up in the “Your Instances” list.
For each running instance, the public DNS name is shown, so that you can use that to connect to the
instance through SSH, HTTP or other means. In the Your Instances list, you can terminate instances
when they are no longer necessary. Terminated instances are kept in the list until about one hour after
termination.
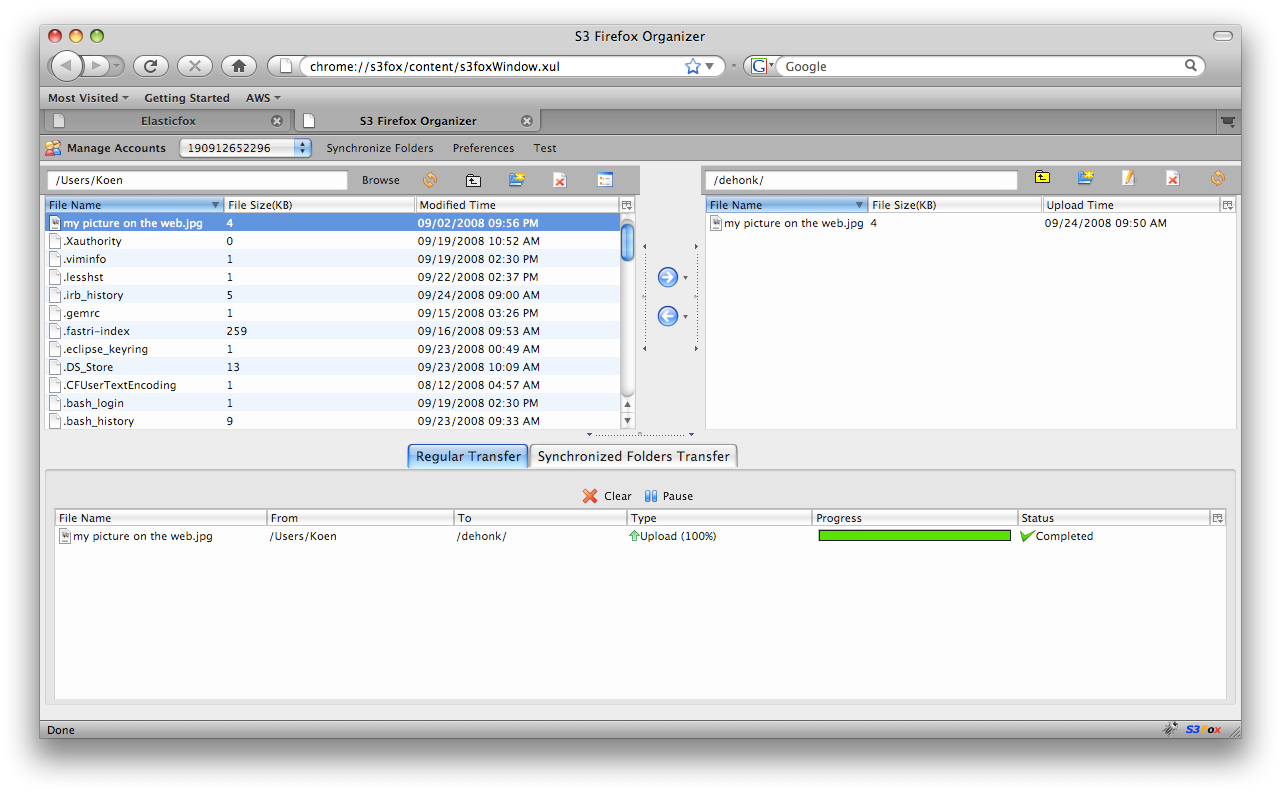
S3Fox Organizer for Amazon enables access to Amazon S3 (Simple Storage Service). It shows the contents of your buckets on S3 and you can download and upload files. Simply entering your account ID, the access key and the secret key, and you are ready to roll.
Installing Desktop Access to Instances
When you want to use a desktop image, so that you can use a GUI to manage your instances, you need software to access
the desktop of the instances. First you need a desktop image. I chose an
Ubuntu GutsyDesktop AMI,
which is also available as a public AMI and listed in Elasticfox. I use a Mac, so
I downloaded the NX Client for Mac OSX (you can download NX Client for
other operating systems from the same location). In no time, I was able to manage the instance through a GUI.
I selected ami-0757b26e from the list in Elasticfox and pressed the Launch Instance(s) button.
In the dialog window that appeared, I entered my key pair and pressed the Launch button.
When the instance was running, I opened a terminal and entered:
$ ssh -i /Users/Koen/ec2-keys/id_gettingstarted-keypair root@ec2-75-101-241-111.compute-1.amazonaws.comUsing the provided information, user root logs in automatically. Then I entered:
$ user-setupand followed the instructions to enter a user name (I chose “koen”) and a password. Then I started NX Client and configured it as follows:
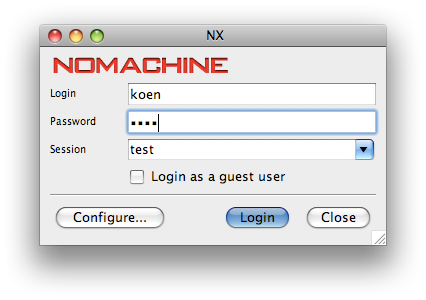
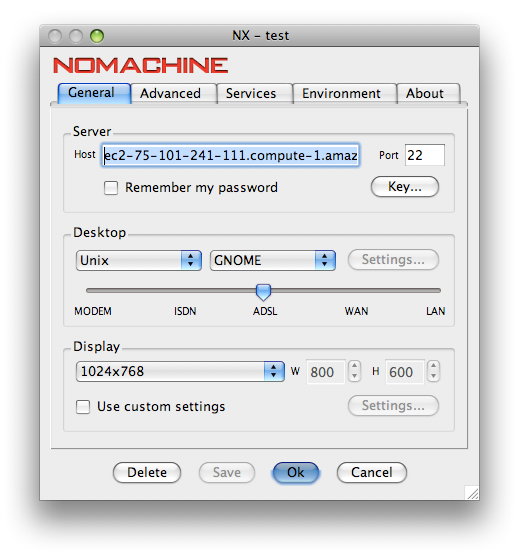
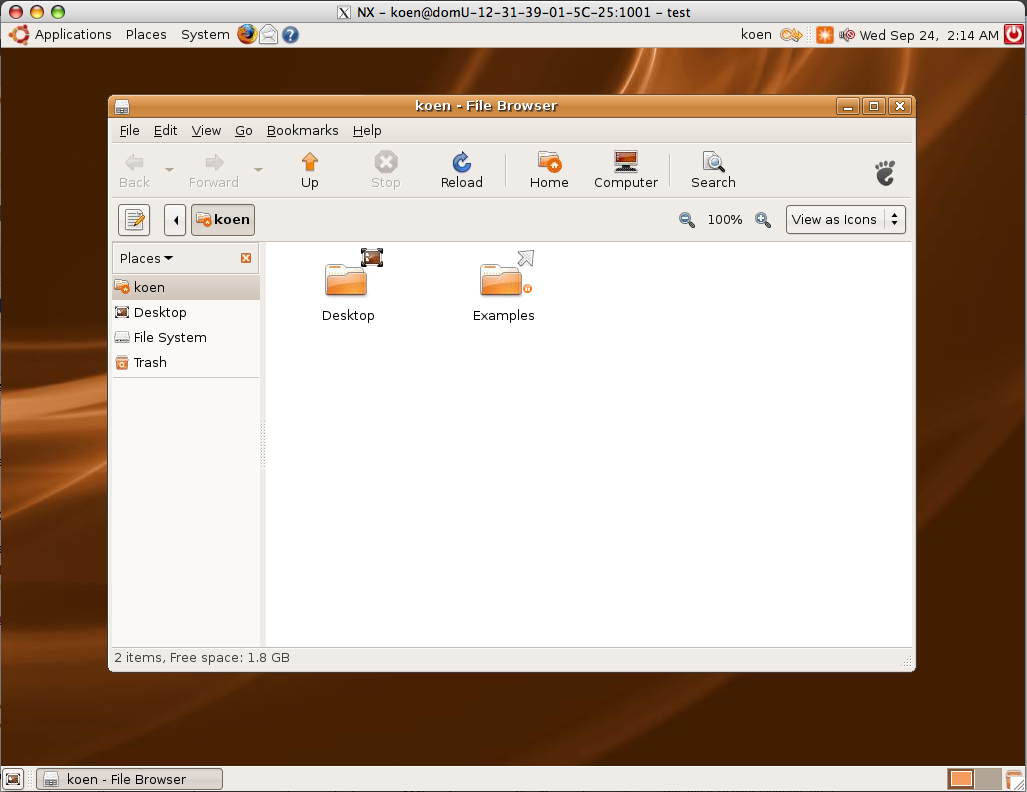
After pressing Login and waiting for the connection to be setup, this was the result
(I already opened the home folder before making the screen shot): the Ubuntu desktop in X11.
Cool.